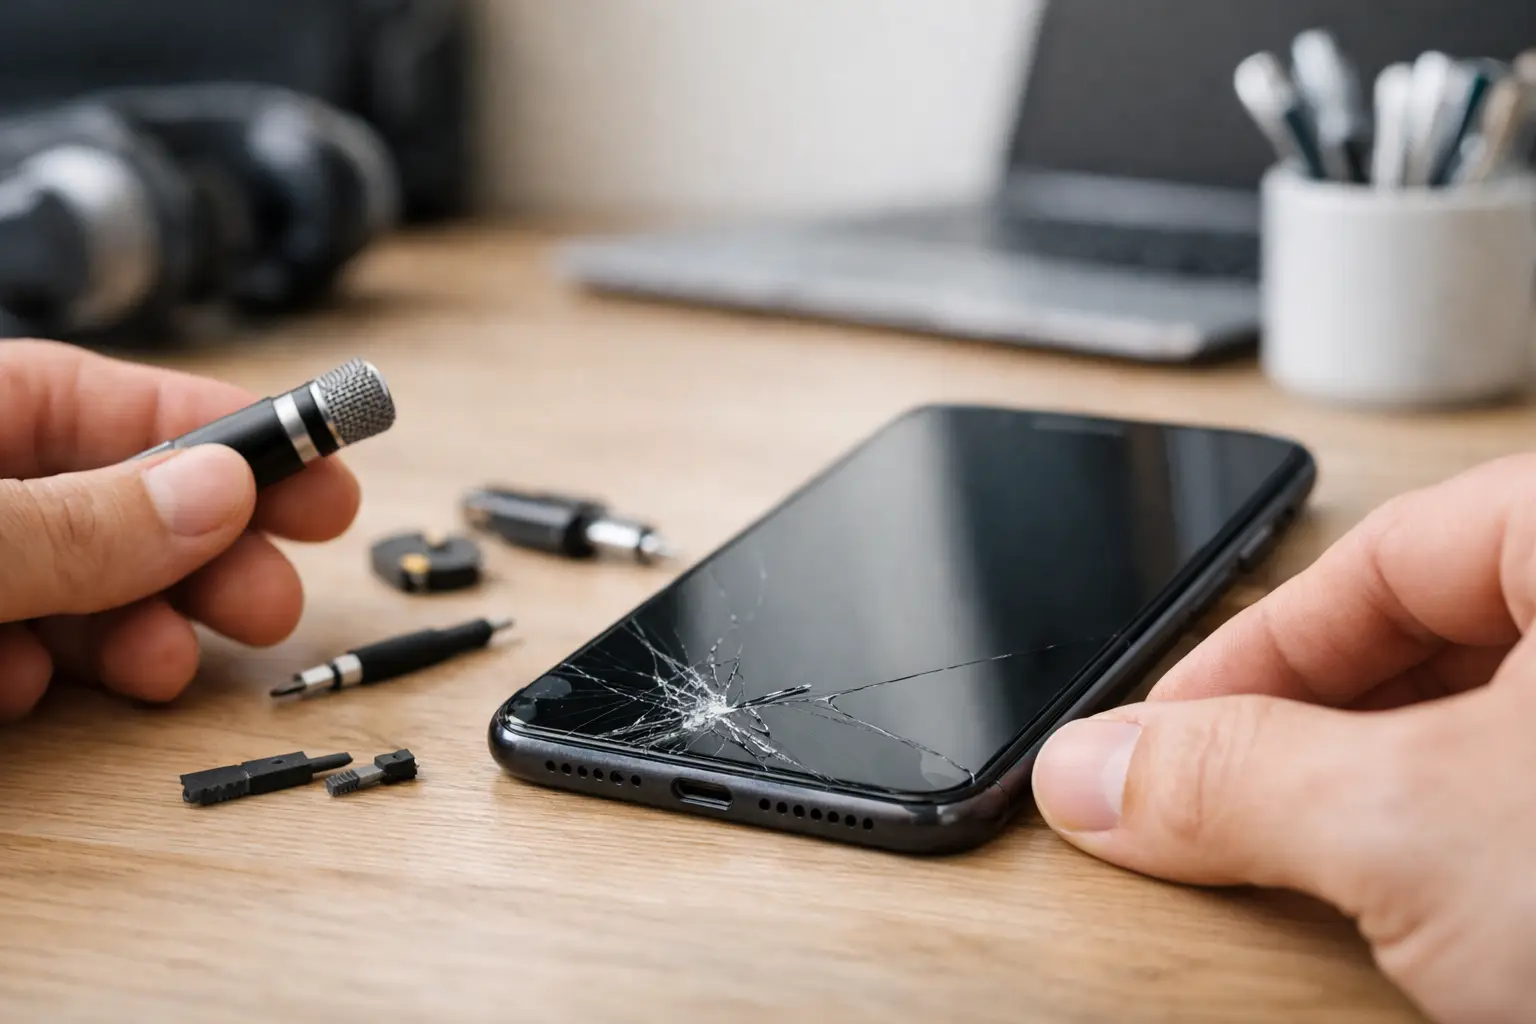
A microphone problem can make a phone feel useless fast. You may hear callers clearly while they cannot hear you, voice notes may record silence, or video audio may come out muffled. Before you assume the phone needs replacement, use these checks to solve a phone microphone problem and narrow down whether the cause is a setting, an accessory, dirt, or hardware damage.
1. Find Out When the Microphone Fails
Start by noticing exactly where the problem happens. Make a regular phone call, record a short voice memo, and try a video recording with sound. If possible, test a video call as well.
This matters because phones often use more than one microphone. One mic may handle standard calls, another may help with noise reduction, and another may be used for video or speakerphone. If voice memos work but calls do not, the issue may be with call settings, your carrier connection, or the app you use for calls. If no app picks up your voice, the problem is more likely physical or system-wide.
Ask the other person what they hear. Silence, faint sound, crackling, and muffled audio point to different causes. A useful test is to speak normally, then move closer to the bottom edge of the phone. Do not shout into it. Distorted audio from shouting can make a working mic sound bad.
2. Remove the Case and Check the Mic Openings
Most phone microphones sit behind tiny holes along the bottom edge, near the charging port. Some devices also have openings at the top or beside the camera. A case, screen protector, skin, or debris can block these areas enough to affect audio.
Take off the case and test again. Look closely at the openings under good light. Pocket lint, makeup, dust, and moisture residue are common problems, especially on phones that spend the day in a purse, backpack, work truck, or pocket.
Clean the area gently with a dry, soft brush. A clean, dry toothbrush with soft bristles can work. You can also lightly use a wooden toothpick around the opening, but do not push anything into the hole. Avoid compressed air, pins, needles, liquids, and metal tools. They can force debris farther inside or damage the microphone mesh.
If the phone was recently exposed to rain, a spill, steam, or high humidity, let it dry fully in a ventilated area before testing it again. Do not charge a wet phone and do not use rice. Rice does not remove moisture from internal parts and can leave dust behind.
3. Disconnect Bluetooth and Wired Accessories
Your phone may be using a different microphone than you expect. Wireless earbuds, a vehicle Bluetooth system, a smartwatch, a headset, or a USB-C adapter can take over audio input during calls or recordings.
Turn Bluetooth off temporarily, disconnect any wired accessories, and restart the phone. Then make another test call using the phone by itself. If the microphone suddenly works, the phone is likely fine. The issue may be the headset, car system, adapter, or a Bluetooth connection that did not release properly.
This is especially common after leaving a car. The phone can appear to be on a normal call while it is still trying to send your voice through the vehicle’s microphone. Check the call screen for an audio or Bluetooth button and switch the audio source back to the phone.
4. Check Microphone Permissions and App Settings
If the microphone fails only in one app, do not assume the phone has a broken mic. The app may not have permission to use it.
On an iPhone, open Settings, choose Privacy & Security, then Microphone. Make sure the app is allowed to use the microphone. On many Android phones, open Settings, choose Apps, select the app, then review Permissions. The exact menu names vary by brand and Android version, but the goal is the same: confirm microphone access is allowed.
Also look for a global microphone privacy control. Some phones let you disable microphone access for every app with one quick setting. If that setting is off, voice typing, social media videos, video calls, and recording apps may all stop picking up sound.
Close the affected app completely and reopen it after changing permissions. If it still fails, update the app. If the issue began right after an update, reinstalling the app can help. Just make sure important drafts, recordings, or messages are backed up first.
5. Restart, Update, and Test Without Extra Apps
A restart is simple, but it clears temporary software conflicts that can interfere with audio. Power the phone off fully, wait about 30 seconds, then turn it back on. Test the microphone before reconnecting accessories or opening several apps.
Next, check for a phone software update. Audio bugs can happen after a system update, but they can also be fixed by a later one. Install updates only when the battery is adequately charged or the phone is connected to power.
For Android users, Safe Mode can help identify whether a downloaded app is causing the problem. In Safe Mode, third-party apps are temporarily disabled. If the microphone works there but not during normal use, recently installed apps, call-recording tools, keyboard apps, security apps, or audio effects may be involved.
For iPhone users, there is no identical Safe Mode option for everyday troubleshooting. Instead, test with Apple’s built-in Voice Memos and Camera apps. If those work while another app does not, focus on that app’s permissions, updates, or settings.
6. Watch for Signs of Hardware Damage
A phone microphone can fail after a drop, water exposure, charging-port damage, or an earlier repair. Even if the screen looks fine, impact damage can loosen a small internal connector or damage the microphone itself.
Hardware trouble is more likely when the issue started immediately after an accident, when every app records poor audio, or when the problem comes and goes after the phone is moved or pressed. Crackling, extreme muffling, and complete silence across calls, recordings, videos, and voice commands are also warning signs.
Do not keep poking at the microphone opening or repeatedly factory-reset the phone if the evidence points to physical damage. A reset can erase your data and will not repair a damaged component. Back up the phone if you can, especially if the device also has charging, speaker, camera, or power problems.
7. Know When It Is Time for Repair
You can often solve phone microphone problems with cleaning, accessory checks, and permission changes. But if the phone still cannot record clear audio after those steps, professional diagnosis is the practical next move.
A technician can check whether the microphone itself is bad, whether debris is trapped behind the mesh, or whether a charging-port assembly, flex cable, or board connection is involved. The right repair depends on the model and the source of the failure. On some phones, the microphone is part of a larger component assembly, so the repair is not always as simple as replacing one small part.
If you are in Richmond, bring the phone to Excell Wireless VA or request a quote with the phone model, what happened before the issue started, and which apps or call types are affected. That information makes it easier to identify the likely repair and avoid paying for work you do not need.
Clear audio is not a luxury when you use your phone for work, school, family, banking, or emergencies. If basic checks do not bring your voice back, getting the phone looked at early can keep a small microphone issue from becoming a bigger device problem.